Showing posts with label pie. Show all posts

Thursday, November 20, 2014

Gobble Gobble Gravy Day


It is that time again folks!  Time for Turkey Day - otherwise known as Thanksgiving!  Traditional Thanksgiving food is my absolute favorite holiday meal. There are a few must-haves for me, and then some extra traditions that I've grown very fond of.

First off, I know people who have ham or other meats (and some non-meat entrees) for their Thanksgiving meal, but this girl MUST have turkey.  If there's no turkey, to me, it just isn't Thanksgiving.  

Second, is the mashed potatoes and gravy.  Now here's where things get seriously diversified based on the region of America you are in.  Since I'm originally a yankee from Ohio, I was raised on "yellow gravy," which is nothing more than chicken or turkey broth, (and there better be a lot of it) that is brought to a boil.  While that's happening, you put a few fork-fulls of corn starch in a measuring cup then add evaporated milk to it, stirring until smooth.  When the broth is at a rolling boil, you pour in the corn starch mixture, continuously stirring the broth.  The corn starch makes the broth thicken, then you add some seasoned salt, seasoned pepper, and a couple of drops of yellow food coloring (at least that's what my grandma and mom do), and you got yourself some Thanksgiving gravy.

However, when I moved to Oklahoma, I got an entirely new experience with what is called giblet gravy.  I haven't made it yet, but it's a broth-based gravy as well, only it has poultry parts in it and pieces of diced hard-boiled egg.  Not to mention, this gravy is apparently used in reserve, meaning -- the Ohio gravy I was raised on is cooked in a very large pot, and is consumed in large quantities, so you can fill the potato well AND drown all the rest of your food with a couple of ladles of creamy yellow gravy.  In contrast, the customary giblet gravy portion seems more like a flavorful gravy suggestion.  I admit that the giblet gravy not only freaked me out when I first tried it, but I was also disappointed that I was not having my traditional slathered feast.  I realized that gravy was more important to my traditional Thanksgiving meal than I had thought.  That being said, over the years I have grown to appreciate and even enjoy southern giblet gravy.  Thanksgiving at my dad's though, is generally gravy deficient. We've developed a tradition where instead of gravy, we have chicken and noodles as our mashed potato topper!  I know, it might sound weird, but we love it.

If there's any turkey left (don't worry, you can always make more yellow gravy), there's all kinds of stuff you can do with the leftovers - but that's another post.


Now, here's where most people would say the stuffing was an imperative part of the Thanksgiving feast.  Up until last year, I would not have been one of those people.  Believe it or not, I spent my life passing the stuffing on to the next person at the table.  Why?  Well, as a kid I hated onions, so I was not about to go anywhere near stuffing.  Then over the years I eventually came to love onions, but I still have a texture issue with their crunch, not that that has anything to do with stuffing, I'm just carrying on.  So I spent the next few years thinking about trying tiny bites here and there, and then a couple of times I actually did, but the couple of ones I tried were either too soggy, or too salty.  Then a miracle happened last year at Christmas dinner (which happened to be the same meal as Thanksgiving - I know lucky me, right?) and I tried some stuffing that I hadn't had before.  OMG!  It was soooo good!  I finally understood what everyone's deal with stuffing was!  And then, I heated up the leftovers, which were a little dry, but that's ok, because I found a good use for the giblet gravy ;)

Ok, then next is green beans, whole cranberry sauce, dinner rolls with lots of butter, and candied yams - none of which I will put above the other, because this whole meal goes together so perfectly! It is the sum of its parts.

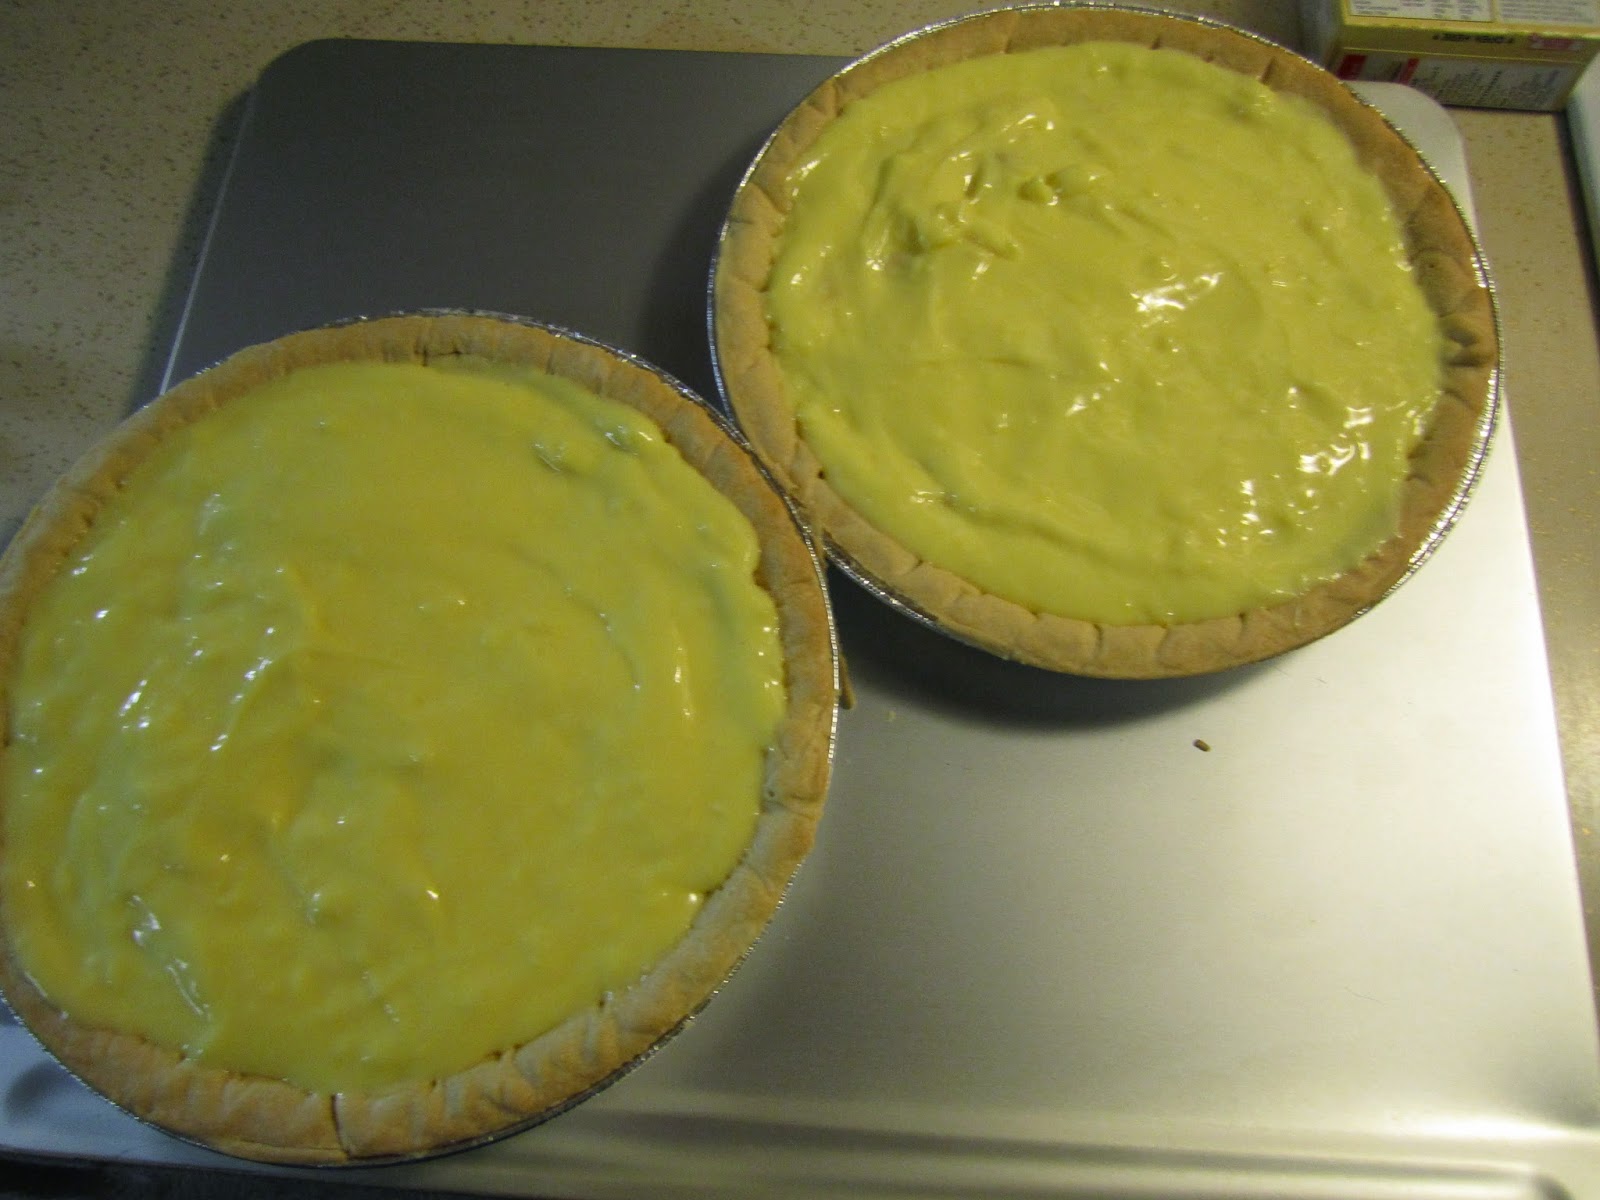
My mom always makes her AMAZING pecan pie, and pumpkin pies as well.  If you love fall as much as I do, I'm sure you and your family have been eating pumpkin everything since like September.  When it stopped being a bazillion degrees outside and I could use my oven in good conscience again, the first thing I baked were a couple of pumpkin pies.  Even though I am all about the traditional Thanksgiving goodies, I have also just about reached my pumpkin pie quota by the end of November.  But I still like that pumpkin-ness for the feast, so I figured out something a little different.  I'm just going to leave this here for you.  I hope you enjoy!

Cream Cheese Pumpkin Pie


Ingredients:
1 package (8 oz) cream cheese – softened
1 cup pumpkin (about half a can)
1 tsp. vanilla
¾ cup packed brown sugar
1 tsp. pumpkin pie spice
1 tsp. cinnamon (plus some for dusting)
1 graham cracker crust pie shell
Whipped cream for topping (recipe found here)

Instructions:

In a large bowl, stir the softened cream cheese until it is smooth (no lumps).  Add in the pumpkin and vanilla and stir until it is smooth and creamy.  Blend in the brown sugar and spices.  Transfer mixture into the graham cracker pie shell and smooth off the top.  Cover with aluminum foil and place in the freezer for about 2-3 hours or when pie is nearly frozen.  Pull it out, decorate with dollops of whipped cream and dust with cinnamon.  Slice and serve immediately.

Thursday, March 20, 2014

Pies For Pi Day!

So, I made a couple of pies this past weekend, in honor of Pi Day, and I thought I'd share them with you. One is sweet, and the other is...well, not sweet.  But they both turned out really tasty!

Fish Pie
Banana Cream Pie

The first is a fish pie.  I know, many of you will be thinking what I thought when I first heard that - "A what now?"  As you may or may not know, I watch a lot of British television, and pretty much anything with Gordon Ramsay on it, so it was inevitable that I would come across the traditional casserole dish called, fish pie.  I don't eat a great variety of fish so I pretty much ignored this dish for a while, but lately, I've been wanting to branch out and learn to make different types of fish recipes, so I thought I should do some research on the English fish pie.

According to Wikipedia, this little ditty has been around for quite some time.  From King Henry I through Henry VIII, the tradition of putting fish into some sort of pie evolved into the casserole dish I happily enjoyed this weekend.  After researching the dish's history, I sifted through countless recipes online and in cookbooks.  Okay, I'm sure I could have counted them, so maybe they aren't literally "countless," but more than I cared to keep track of, at any rate.  After my scavenger hunt, I deduced that a traditional fish pie consists of whatever fish/seafood you have on hand, a cream base, and is topped with mashed potatoes.  I was a bit baffled at first at the fact that they were calling this a pie, when it in fact has no pie crust.  Then I remembered that the UK is also famous for the popularity of another crust-less pie - the Shepherd's pie

Ok, so I looked in my kitchen to see if I could put together this "pie" with what I had on hand.  After a quick inventory and stroking my chin for a few minutes, I decided I could do it and devised a plan of action (P.O.A.).  

Fish Pie

Fish Pie

Ingredients:

2 frozen cod fillets (thawed)
2 frozen flounder fillets (thawed)
1 (14.5oz) can salmon (deboned and deskinned) - save the liquid
1/2 cup onion, chopped
2 garlic cloves, minced
2-1/2  cups, plus 1/2 cup, plus 2 TBLS. of milk, separated
Salt & pepper to taste
About 1 tsp. of Dried Basil 
4 bay leaves
About 1 Tbls., plus some for spinkling of Dried parsley
3 Tbls of butter, divided
10 oz pkg of frozen peas
2 lbs. of red skinned potatoes (leave the skin on)
Dash of celery salt
3 Tbls. of corn starch
White sharp cheddar (optional)
Lemon zest (optional)

Instructions:

Preheat the oven to 375 degrees F.  Wash and cube the potatoes (don't forget to leave the skins on), and boil them in water seasoned with cracked sea salt, celery salt, and 2 of the bay leaves, until tender.  Drain, remove bay leaves, and mash with 2 Tbls. of milk, some cracked pepper, a bit more celery salt, and about a tablespoon of butter. Set aside to cool.  
Take the thawed cod and flounder fillets and place them into a large bowl.  Pour 2-1/2 cups of milk over them, plus the liquid only, from the can of salmon.  DO NOT ADD THE SALMON ITSELF, that will come later. Set aside to soak. In a small saucepan, melt 2 Tbls of butter over medium to medium-high heat. Add in the garlic cloves and onion and saute until onions are tender.  You may feel like you need a little more butter here, so go ahead and knock yourself out, I usually do.  

While that is working, get out a large, deep skillet.  Turn your burner on medium and pour in the milk you had the fish soaking in. While that is heating up, add in some salt, pepper, basil, parsley, and the remaining 2 bay leaves.  Now add in the cod and flounder fillets.  Bring the mixture to boil, then reduce heat and poach for about 6-8 minutes, or until the fillets flake easily with a fork.  Now, the founder is significantly thinner than the cod, so they should only take about 4-5 minutes, if that, so keep an eye on them.  When the fillets are done, remove them and set to the side.  

Bring the heat back up to a near boil and add in the garlic and onions to the milk, stirring until thoroughly blended.  In a measuring cup, add about 2-3 Tbls. of corn starch and slowly add in the remaining 1/2 cup of cold milk, stirring continuously until there are no lumps.  Pour the milk/corn starch mixture slowly into the boiling milk/onion mixture, stirring continuously until thickened, making a cream sauce.  Add the peas and stir until blended.  Remove bay leaves and turn off the heat.

Remember the fishes?  Okay, chunk the cod and flounder fillets into a large bowl, however big or small you like.  Add the salmon (remember to remove the bones and skin before hand).  The salmon should be left in relatively large chunks so that they don't overcook before the rest of the dish.  Blend all the fishes together evenly and add them to a 9x12 (or there-about) casserole dish. Pour the cream sauce over top of the fish evenly.  If you are using a lemon zest, go ahead and add that now.  You can add any other sea food you want here, like mussels or shrimp, but I didn't have any on hand, and I wanted to try a simple fish pie for my first time out.  However, this is a great dish to experiment with, so have fun with it!

Now spread the mashed potatoes over the cream and fish, making roughly textured peaks, or get fancy and pipe them on with a pastry bag if you like.  Bring the potatoes to the edge of the casserole dish, creating a light seal.  Sprinkle with parsley.  If you are using white sharp cheddar, make sure you grate it first, then sprinkle it on over the mash.  I made one dish with cheese and one without, but I couldn't tell which one I liked more, maybe you can decide?

With cheese..
...without cheese

Okay, you are all done with the prep work!  Just pop it in the oven, uncovered, for about 30-35 minutes or until golden and bubbly.  I went ahead and put it on broil for the last 3 minutes for a little more browning, because I like it that way.  When you pull it out, let it set up for about 5 minutes or so before digging in.

Fish pie, almost gone - YUM!

Okay, now, for the sweet pie!

Easy Banana Cream Pie
Banana Cream Pie

I've made banana cream pie before from scratch - with meringue. It was good, but it takes quite a while from beginning to end, and I've found that there are some people who don't like meringue on a cream pie, they prefer, well, cream.  That made sense to me, plus I was too tired for fancy baking after making dinner.  So, after finishing up the baking time of the fish pie, I cranked up the oven to 400 degrees and put a couple of pre-made pie crusts on a baking sheet (pricking the shells with a fork first) and put them in the oven for about 10 minutes, until golden.  When they were done, I pulled them out and set them to the side to cool.

Okay, I have to say that personally, I absolutely cannot stand the tinge of chemical taste from instant pudding, but I really like the Cook & Serve line of pudding from Jell-o.  It takes a little longer than instant, but not enough for me to really notice, plus the flavor difference is very much worth it!  So just follow the package instructions on the pudding box, which basically says to add the powder to 3 cups of milk and bring to a boil, stirring continuously.  Great, you're done!  Set it to the side to cool.  **Tip - the pudding will cool down faster if you give it a quick stir every few minutes.


The whole reason I decided to make this pie was because I had 3 over-ripe bananas that weren't going to get eaten as they were, plus I had the pie crusts in the fridge.  And it was Pi Day, soooo, banana cream pie it is!

While waiting on the crusts and filling to cool down, this is a perfect time to make the whipped cream.  I know I've said this before, but DO NOT BUY PRE-MADE WHIPPED CREAM!  It is full of chemicals (I'm especially talking about Cool Whip here, people - and Cool Whip is most certainly NOT whipped cream) and it doesn't have the full rich flavor and texture of real whipped cream.  Making your own whipped cream is easy, and you know exactly what is in it.  As I said in the Sweetheart Shake post, don't be lazy here!

Okay, put a medium glass or ceramic bowl in the freezer along with the mixer beaters, for about 15 minutes. This will make the whipping process go a lot faster.  Pull out the bowl and pour in 1 cup of heavy whipping cream, 2 Tbls. of sugar (organic sugar is what I prefer), and 1/2 tsp. of pure vanilla extract.  Beat on high with the chilled beaters until thick.  Some people choose to use powdered sugar instead.  Try them both, and see which you prefer.  The powdered sugar will provide a bit of a sweeter flavor (you can always use less of it though if it is too sweet) and the whipped cream will be shinier.  When it is properly whipped, place the bowl of whipped cream into the fridge until needed.

Once the pie crusts are cooled to room temperature, slice up 3 bananas and layer the slices evenly on top of the crusts, like so...


When the pudding has cooled down, pour it evenly between the pie shells over top of the bananas.  Lick the spatula clean and put it back in the drawer into the sink to wash, or in the dishwasher, if you are lucky enough to have one.


Put the pies in the fridge for about 3 hours.  After that time is up, pull them back out, along with the bowl of whipped cream.  Divide the whipped cream evenly between the 2 pies and smooth to the edges.


Viola!  You're done!  Just cut and serve.

Banana Cream Pie
Easy Banana Cream Pie


I hope you enjoyed my homage to Pi Day!  Thank you for stopping by!